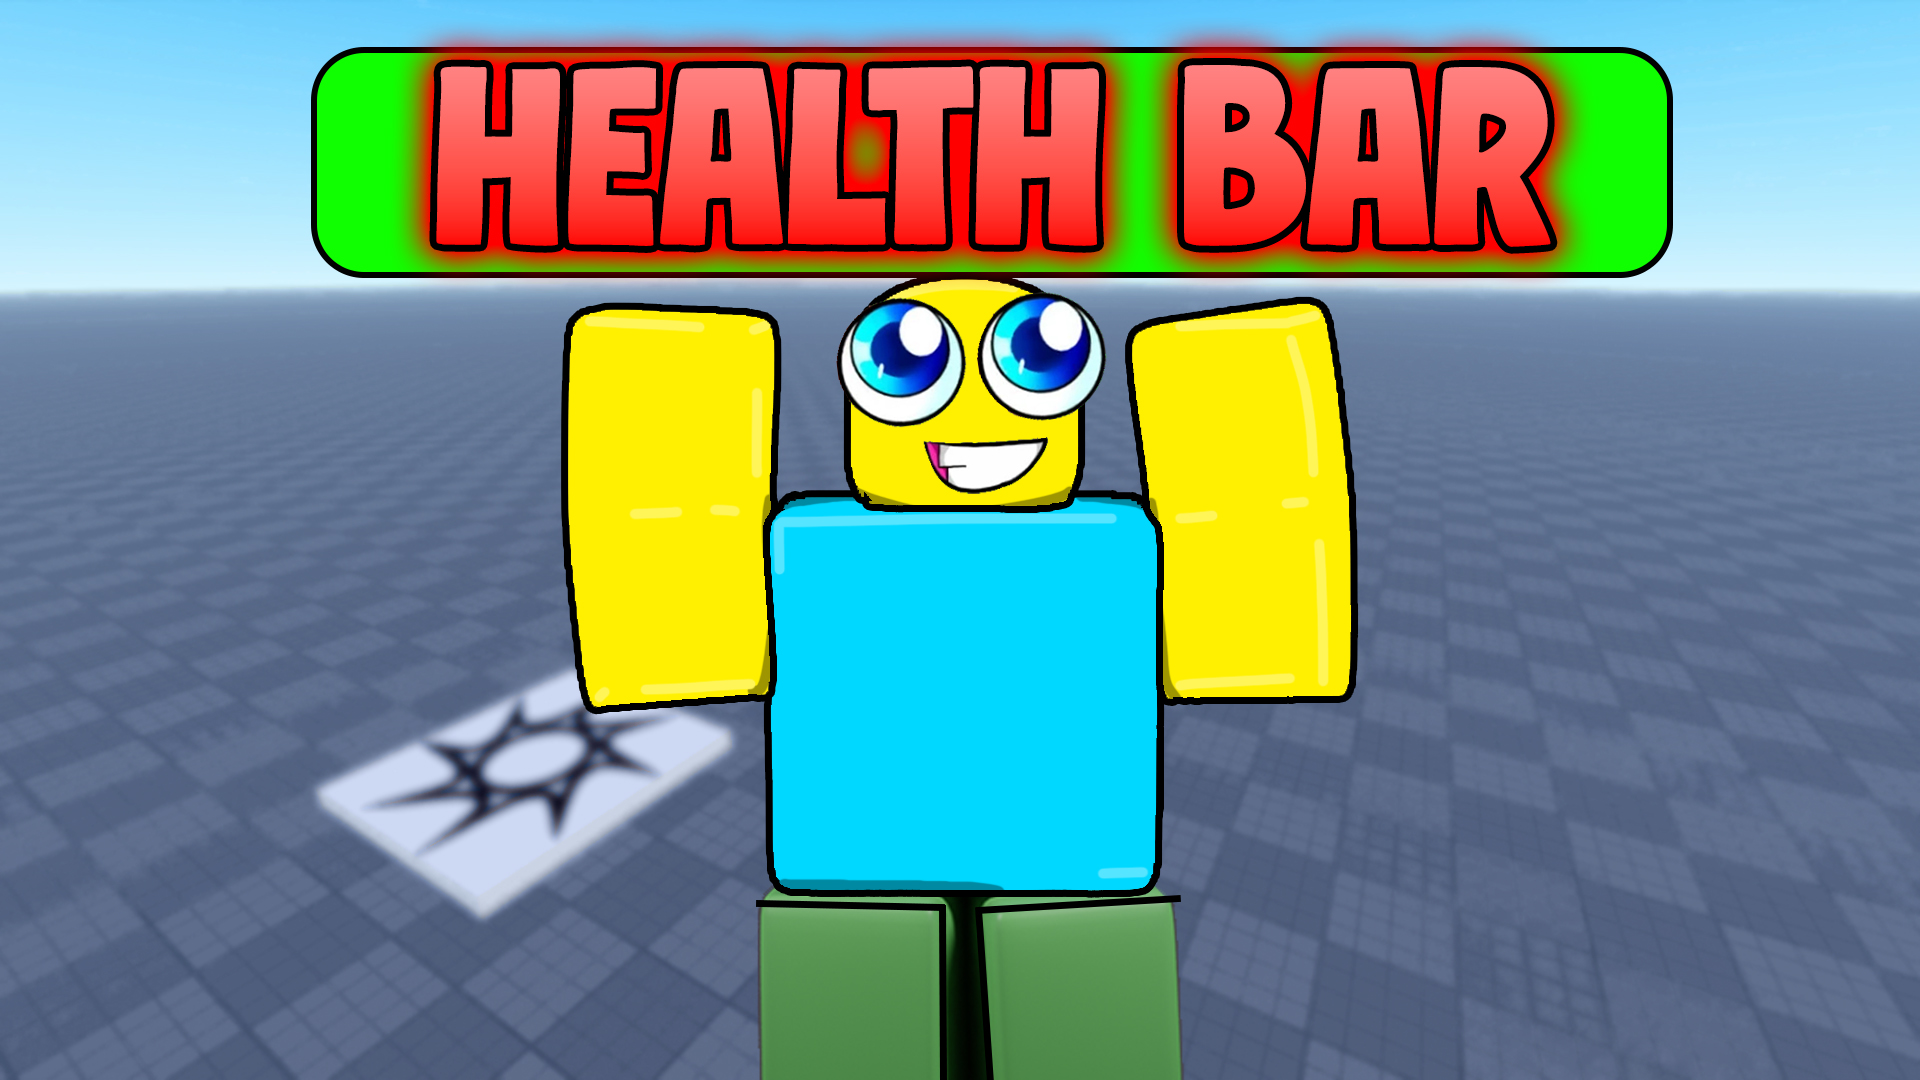
How to Make a Health Bar in Roblox Studio (Floating HP + Upgrades)
Goal: a server-wide floating health bar above each player that shows current/max, plus two test parts:
damage clicker (–10 HP per click) and health-upgrade clicker (+1 MaxHealth and a tiny heal).
Copy the scripts below and follow the folder paths.
1) Floating health bar (server-side)
Where to add it: Explorer → ServerScriptService → Script
-- ServerScriptService > Script
-- Overhead health bar visible to everyone. Tracks Health and MaxHealth.

local Players = game:GetService("Players")

local BAR_WIDTH  = 200
local BAR_HEIGHT = 26

local function attachHealthBar(character)
    local head = character:WaitForChild("Head", 10)
    local hum  = character:WaitForChild("Humanoid", 10)
    if not head or not hum then return end

    -- Clean previous bar (if any)
    local old = head:FindFirstChild("OverheadHealth")
    if old then old:Destroy() end

    -- Billboard container (faces camera, follows Head)
    local billboard = Instance.new("BillboardGui")
    billboard.Name = "OverheadHealth"
    billboard.Adornee = head
    billboard.AlwaysOnTop = true
    billboard.Size = UDim2.new(0, BAR_WIDTH, 0, BAR_HEIGHT + 18)
    billboard.StudsOffset = Vector3.new(0, 3.25, 0)
    billboard.MaxDistance = 175
    billboard.Parent = head

    -- Card background
    local card = Instance.new("Frame")
    card.Size = UDim2.new(1, 0, 0, BAR_HEIGHT + 4)
    card.BackgroundColor3 = Color3.fromRGB(15, 15, 18)
    card.BackgroundTransparency = 0.15
    card.Parent = billboard

    local uiCorner = Instance.new("UICorner")
    uiCorner.CornerRadius = UDim.new(0, 8)
    uiCorner.Parent = card

    local stroke = Instance.new("UIStroke")
    stroke.Transparency = 0.25
    stroke.Thickness = 1.5
    stroke.Color = Color3.fromRGB(0, 0, 0)
    stroke.Parent = card

    -- Bar background
    local barBG = Instance.new("Frame")
    barBG.Name = "BarBG"
    barBG.Size = UDim2.new(1, -8, 0, BAR_HEIGHT)
    barBG.Position = UDim2.new(0, 4, 0, 2)
    barBG.BackgroundColor3 = Color3.fromRGB(28, 28, 34)
    barBG.Parent = card

    local bgCorner = Instance.new("UICorner")
    bgCorner.CornerRadius = UDim.new(0, 6)
    bgCorner.Parent = barBG

    -- Bar fill (we will resize this)
    local fill = Instance.new("Frame")
    fill.Name = "BarFill"
    fill.Size = UDim2.new(1, 0, 1, 0)
    fill.BackgroundColor3 = Color3.fromRGB(90, 200, 90) -- green-ish
    fill.Parent = barBG

    local fillCorner = Instance.new("UICorner")
    fillCorner.CornerRadius = UDim.new(0, 6)
    fillCorner.Parent = fill

    -- Text: current/max
    local txt = Instance.new("TextLabel")
    txt.Name = "HPText"
    txt.BackgroundTransparency = 1
    txt.Size = UDim2.new(1, 0, 0, 18)
    txt.Position = UDim2.new(0, 0, 0, BAR_HEIGHT + 4)
    txt.Font = Enum.Font.GothamBold
    txt.TextScaled = true
    txt.TextColor3 = Color3.new(1, 1, 1)
    txt.TextStrokeTransparency = 0
    txt.TextStrokeColor3 = Color3.new(0, 0, 0)
    txt.Parent = billboard

    -- Update visuals from Humanoid values
    local function refresh()
        local maxHP = math.max(1, hum.MaxHealth)
        local hp    = math.clamp(hum.Health, 0, maxHP)
        local ratio = hp / maxHP

        fill.Size = UDim2.new(ratio, 0, 1, 0)

        -- color shift green -> yellow -> red as HP drops
        local r = math.clamp((1 - ratio) * 2, 0, 1)
        local g = math.clamp(ratio * 2, 0, 1)
        fill.BackgroundColor3 = Color3.fromRGB(255 * r, 255 * g, 60)

        txt.Text = string.format("%d/%d", math.floor(hp + 0.5), math.floor(maxHP + 0.5))
    end

    refresh()
    hum.HealthChanged:Connect(refresh)
    hum:GetPropertyChangedSignal("MaxHealth"):Connect(refresh)

    -- Clean up a bit after death
    hum.Died:Connect(function()
        task.delay(2, function()
            if billboard and billboard.Parent then billboard:Destroy() end
        end)
    end)
end

local function onPlayerAdded(player)
    player.CharacterAdded:Connect(attachHealthBar)
    if player.Character then attachHealthBar(player.Character) end
end

Players.PlayerAdded:Connect(onPlayerAdded)
for _, p in ipairs(Players:GetPlayers()) do onPlayerAdded(p) end
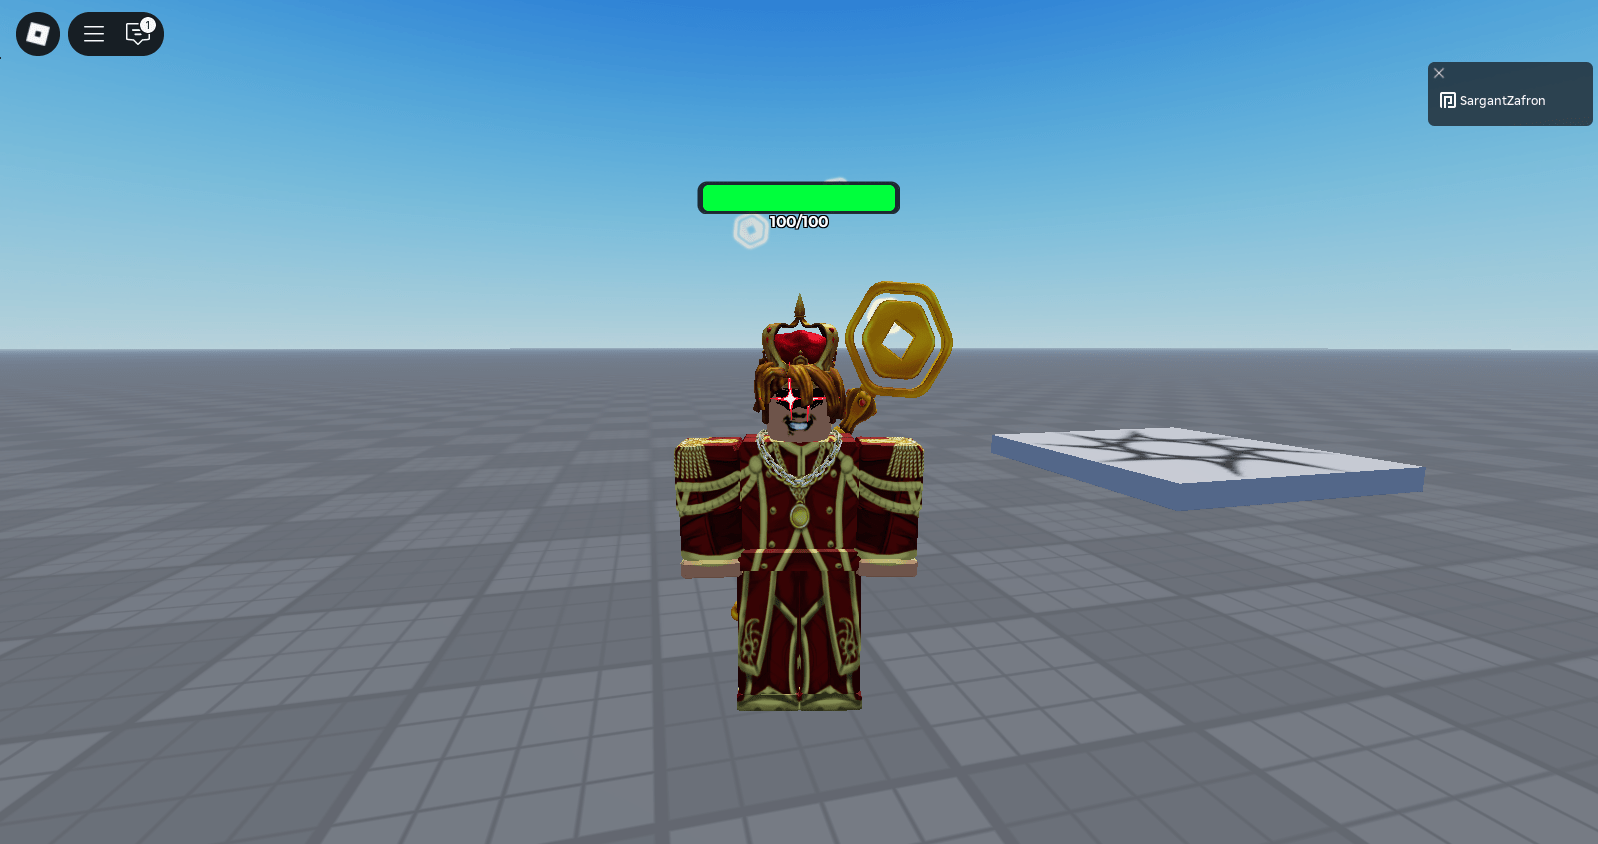
What this does (in plain English)
When a character spawns, the script builds a BillboardGui above the Head. It resizes a fill bar to Health / MaxHealth, shifts color from green → yellow → red as HP drops, and shows current/max in text. It listens to HealthChanged and MaxHealth, so it updates automatically when you take damage or increase MaxHealth.
2) Damage clicker (click → take 10 damage)
Where to add it: In Workspace, insert a Part (name it DamageClicker), set Anchored = true. Add a ClickDetector and a Script inside the Part, then paste:
-- Workspace > DamageClicker (Part) > Script
-- Requires a ClickDetector on the same Part.

local part = script.Parent
local click = part:FindFirstChildOfClass("ClickDetector")

if not click then
    warn("DamageClicker needs a ClickDetector")
    return
end

click.MaxActivationDistance = 32 -- optional: easier to click

click.MouseClick:Connect(function(player)
    local char = player.Character
    if not char then return end

    local hum = char:FindFirstChildOfClass("Humanoid")
    if not hum then return end

    hum:TakeDamage(10) -- subtract 10 from current Health
end)
How it works
ClickDetector.MouseClick gives you the Player who clicked. We grab their Humanoid and call TakeDamage(10). Your overhead health bar updates immediately because it listens to HealthChanged.
3) Health-upgrade clicker (click → +1 MaxHealth, tiny heal)
Where to add it: In Workspace, insert another Part (name it UpgradeHealth), set Anchored = true. Add a ClickDetector and a Script inside the Part, then paste:
-- Workspace > UpgradeHealth (Part) > Script
-- Requires a ClickDetector on the same Part.

local part = script.Parent
local click = part:FindFirstChildOfClass("ClickDetector")

if not click then
    warn("UpgradeHealth needs a ClickDetector")
    return
end

click.MaxActivationDistance = 32

click.MouseClick:Connect(function(player)
    local char = player.Character
    if not char then return end

    local hum = char:FindFirstChildOfClass("Humanoid")
    if not hum then return end

    -- Raise MaxHealth by 1
    hum.MaxHealth = (hum.MaxHealth or 100) + 1

    -- Give a tiny bump so it feels responsive.
    -- Default Roblox regen will keep filling toward the new max automatically.
    hum.Health = math.min((hum.Health or hum.MaxHealth) + 1, hum.MaxHealth)

    -- If you prefer to instantly fill to the new max, use:
    -- hum.Health = hum.MaxHealth
end)
How it works
On click, we add +1 to MaxHealth and nudge Health up by 1 so the bar moves immediately. Default Roblox regeneration continues to fill toward the new max. The overhead bar updates because it listens to both MaxHealth and Health.
Setup checklist & quick test
- Use Play (F5), not Run, so your character actually spawns.
- Each clicker Part must have a ClickDetector.
- The health bar script must live in ServerScriptService (not StarterPlayerScripts).
- If you’ve disabled default regeneration, either add your own heal-over-time or set hum.Health = hum.MaxHealth on upgrade.
Quick test flow
- Press Play → notice the overhead bar (e.g., 100/100).
- Click DamageClicker → bar drops by 10 each click.
- Click UpgradeHealth → max rises (101, 102, …) and the bar/number adjusts; regen creeps Health upward.
FAQ & troubleshooting
No bar appears? Make sure the script is in ServerScriptService and you’re pressing Play, not just running physics.
Bar doesn’t update on click? Confirm the parts have ClickDetector, and your script references the player’s Humanoid correctly.
Colors feel too strong? Tweak the green/yellow/red mixing in the refresh() function to match your style.
Want a kill brick? Add a Part with a Touched event setting hum.Health = 0. I can add a copy-paste snippet if you want it here.
Related Roblox Studio guides