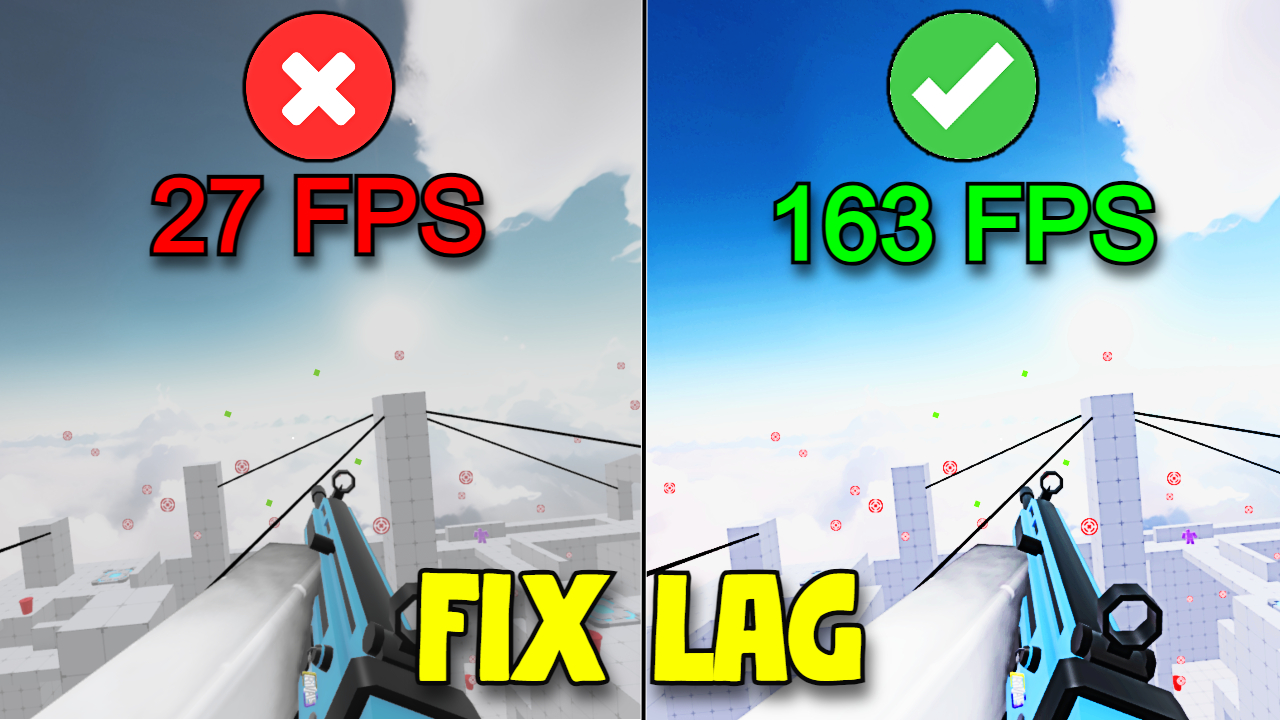
Are you experiencing lag issues while playing Rivals, one of the trending games with a growing player base? With so many people playing, it’s natural to encounter performance hiccups, especially if your system isn’t optimized for gaming. In this guide, I’ll walk you through a few practical steps you can take to reduce lag and improve your overall gameplay experience. Let’s dive into the key settings and system tweaks that will make your gaming smoother.
Step 1: Adjusting In-Game Settings
One of the quickest ways to fix lag in Rivals is by adjusting the in-game settings. These settings are designed to optimize performance by reducing the strain on your computer. Here’s how to do it:
Accessing the Settings Menu
When you’re in the game, you can find the settings either in the lobby or by clicking on the settings icon at the top of your screen during gameplay. These are the first places you’ll want to visit to tweak your game for better performance.
Disable Shadows
Once in the settings menu, the first thing you’ll want to do is disable shadows. Shadows in games are constantly moving, which requires your computer to process that movement in real-time. By disabling shadows, you’re freeing up resources, and you’ll instantly notice that the game becomes a lot brighter. This simple tweak can significantly reduce lag, especially if your PC is struggling to keep up.
Disable Textures
Another key setting to adjust is disable textures. When textures are enabled, items and environments, such as your weapons and surroundings, come with fancy details that look great but put additional strain on your computer. By disabling textures, these items will lose their complex look, but your system won’t have to process all that extra detail, resulting in smoother performance.
Step 2: Set Your Frame Rate Limit
Rivals has a built-in FPS (frames per second) unlocker, which allows you to adjust the maximum frame rate of the game. By default, the frame rate is set to 60 FPS, but you can increase it to 120 FPS, 144 FPS, or even 240 FPS. However, not all systems can handle higher frame rates, so here’s what I recommend:
- If your PC can handle it, set the frame rate to 120 FPS for a smoother experience.
- If your system struggles with higher FPS, keep it at 60 FPS. This setting is a safe bet for most players and will keep the game running smoothly without overloading your computer.
Step 3: Manual vs. Automatic Graphics Settings
In addition to frame rate, adjusting your graphics settings can have a big impact on performance. I prefer setting my graphics to manual at the maximum distance because it helps render far-off elements in the game more clearly. However, if your system is struggling, you might want to set it to automatic, which allows the game to adjust graphics quality dynamically based on your current performance. Alternatively, you can set the graphics to manual and lower them as much as you’d like for smoother gameplay.
Step 4: Optimizing Your PC for Performance
Now that we’ve optimized the in-game settings, let’s move on to optimizing your actual PC. These steps will help ensure that your system is running as efficiently as possible when playing Rivals or any other resource-intensive game.
Clear Prefetch Data
Prefetch data is essentially a cache of information that your computer stores to help applications run faster. However, over time, this data can build up and slow down your system, especially if you no longer use some of the applications associated with this data.
Here’s how to clear it:
- Press Windows + R on your keyboard to open the Run command.
- Type prefetch and hit Enter.
- You may be prompted with a warning message—click OK or Continue to proceed.
- In the prefetch folder, press Ctrl + A to select all files and then hit Delete.
Clearing these files will free up space and improve performance, especially when loading applications and games like Rivals.
Empty the Recycling Bin
After clearing the prefetch folder, you should also empty your Recycling Bin. Deleted files in the Recycling Bin still take up space on your hard drive and can slow down your system if they accumulate over time. To do this, simply right-click on the Recycling Bin icon and select Empty Recycling Bin.
Step 5: Additional System Tweaks
Although clearing prefetch data and emptying the Recycling Bin are helpful, there are a few more things you can do to ensure your system is running at peak performance. Here are a couple of additional tips:
- Disable Startup Programs: Many programs are set to run automatically when you start your computer, even if you’re not using them. Disabling unnecessary startup programs can free up resources.
- Check for Driver Updates: Make sure your graphics drivers are up-to-date. An outdated driver can lead to performance issues in games.
- Run a Disk Cleanup: Use the built-in Windows Disk Cleanup tool to clear temporary files and free up space on your hard drive.
Conclusion
By following these steps, you can significantly reduce lag and improve your overall gaming experience in Rivals. From adjusting in-game settings to optimizing your PC, each tweak plays a role in ensuring that your system runs smoothly. Remember, keeping your game and system optimized will not only help with Rivals but also enhance performance across other games and applications.
If you found this guide helpful, be sure to like, comment, and share your experience. Feel free to drop any questions you have about fixing lag or optimizing performance—I’m here to help. Happy gaming!
